
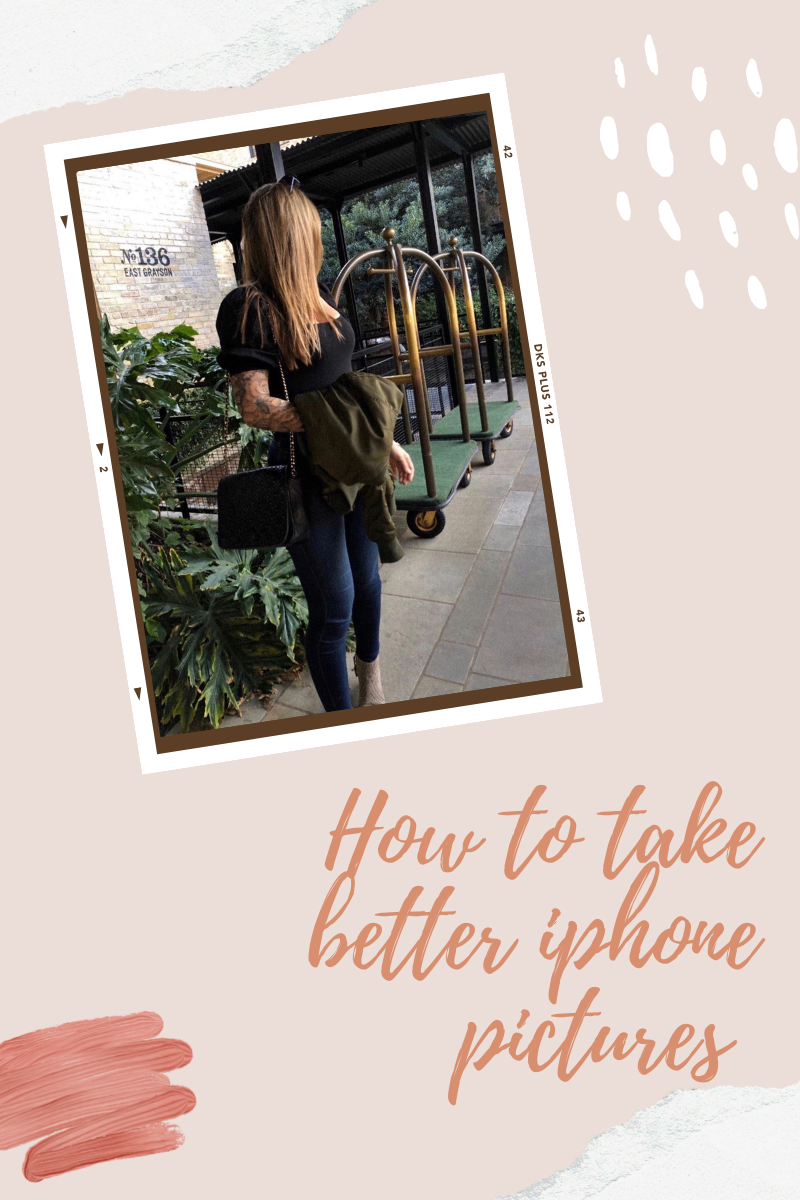
How to Take Better iPhone Pictures
While I know a lot of bloggers and influencers use fancy cameras for their social media & blog, I personally like to stick to my iPhone. I own a really nice Sony camera (a5100) that I use to film Youtube videos with and it’s amazinggg, but to be honest I love the look of iPhone photos just as much and it seems way more convenient to just use my phone for Instagram pictures.
It’s definitely taken me some practice, but these are the things I’ve learned over the past few years to grab a better pic.
-Clean your lens. I feel like this seems so obvious, but to most it’s not. Your phone is constantly touched, sits in your pocket, rubs against things in your purse, fogs up, etc. The first thing I do every time I go to take a photo is wipe my lens for a clear, crisp photo.
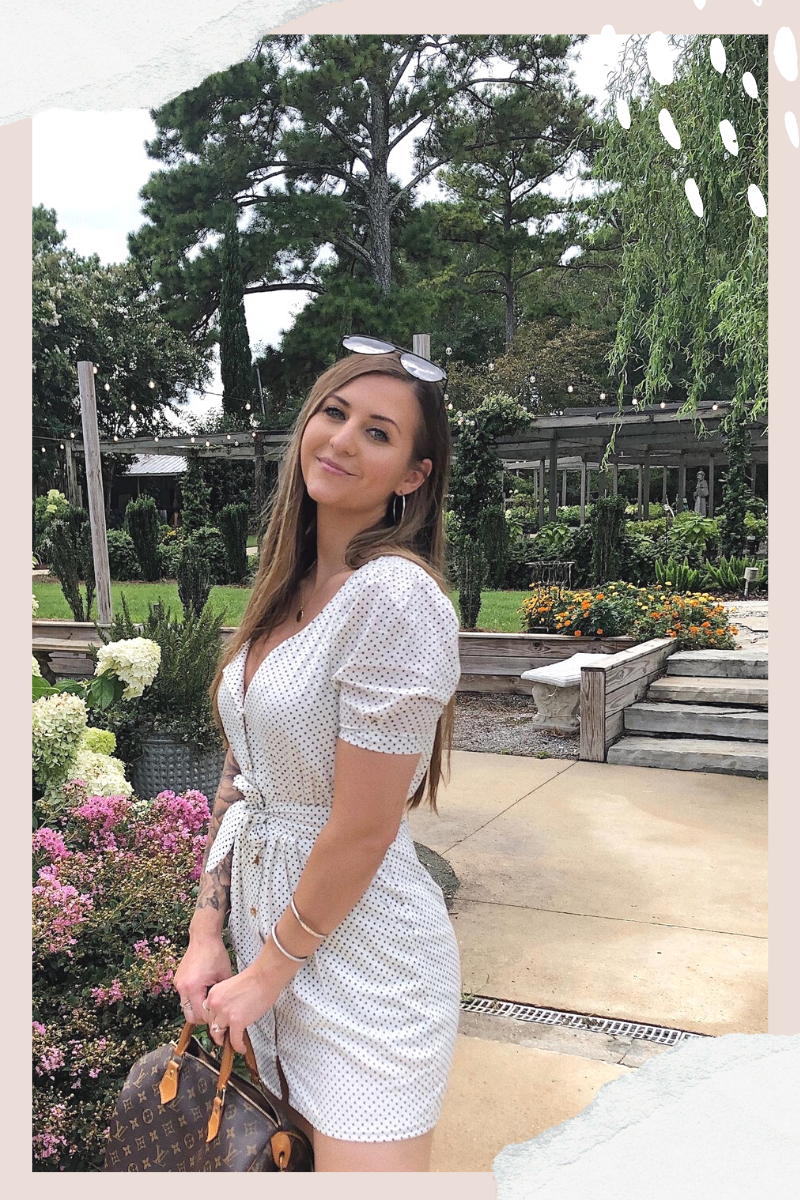
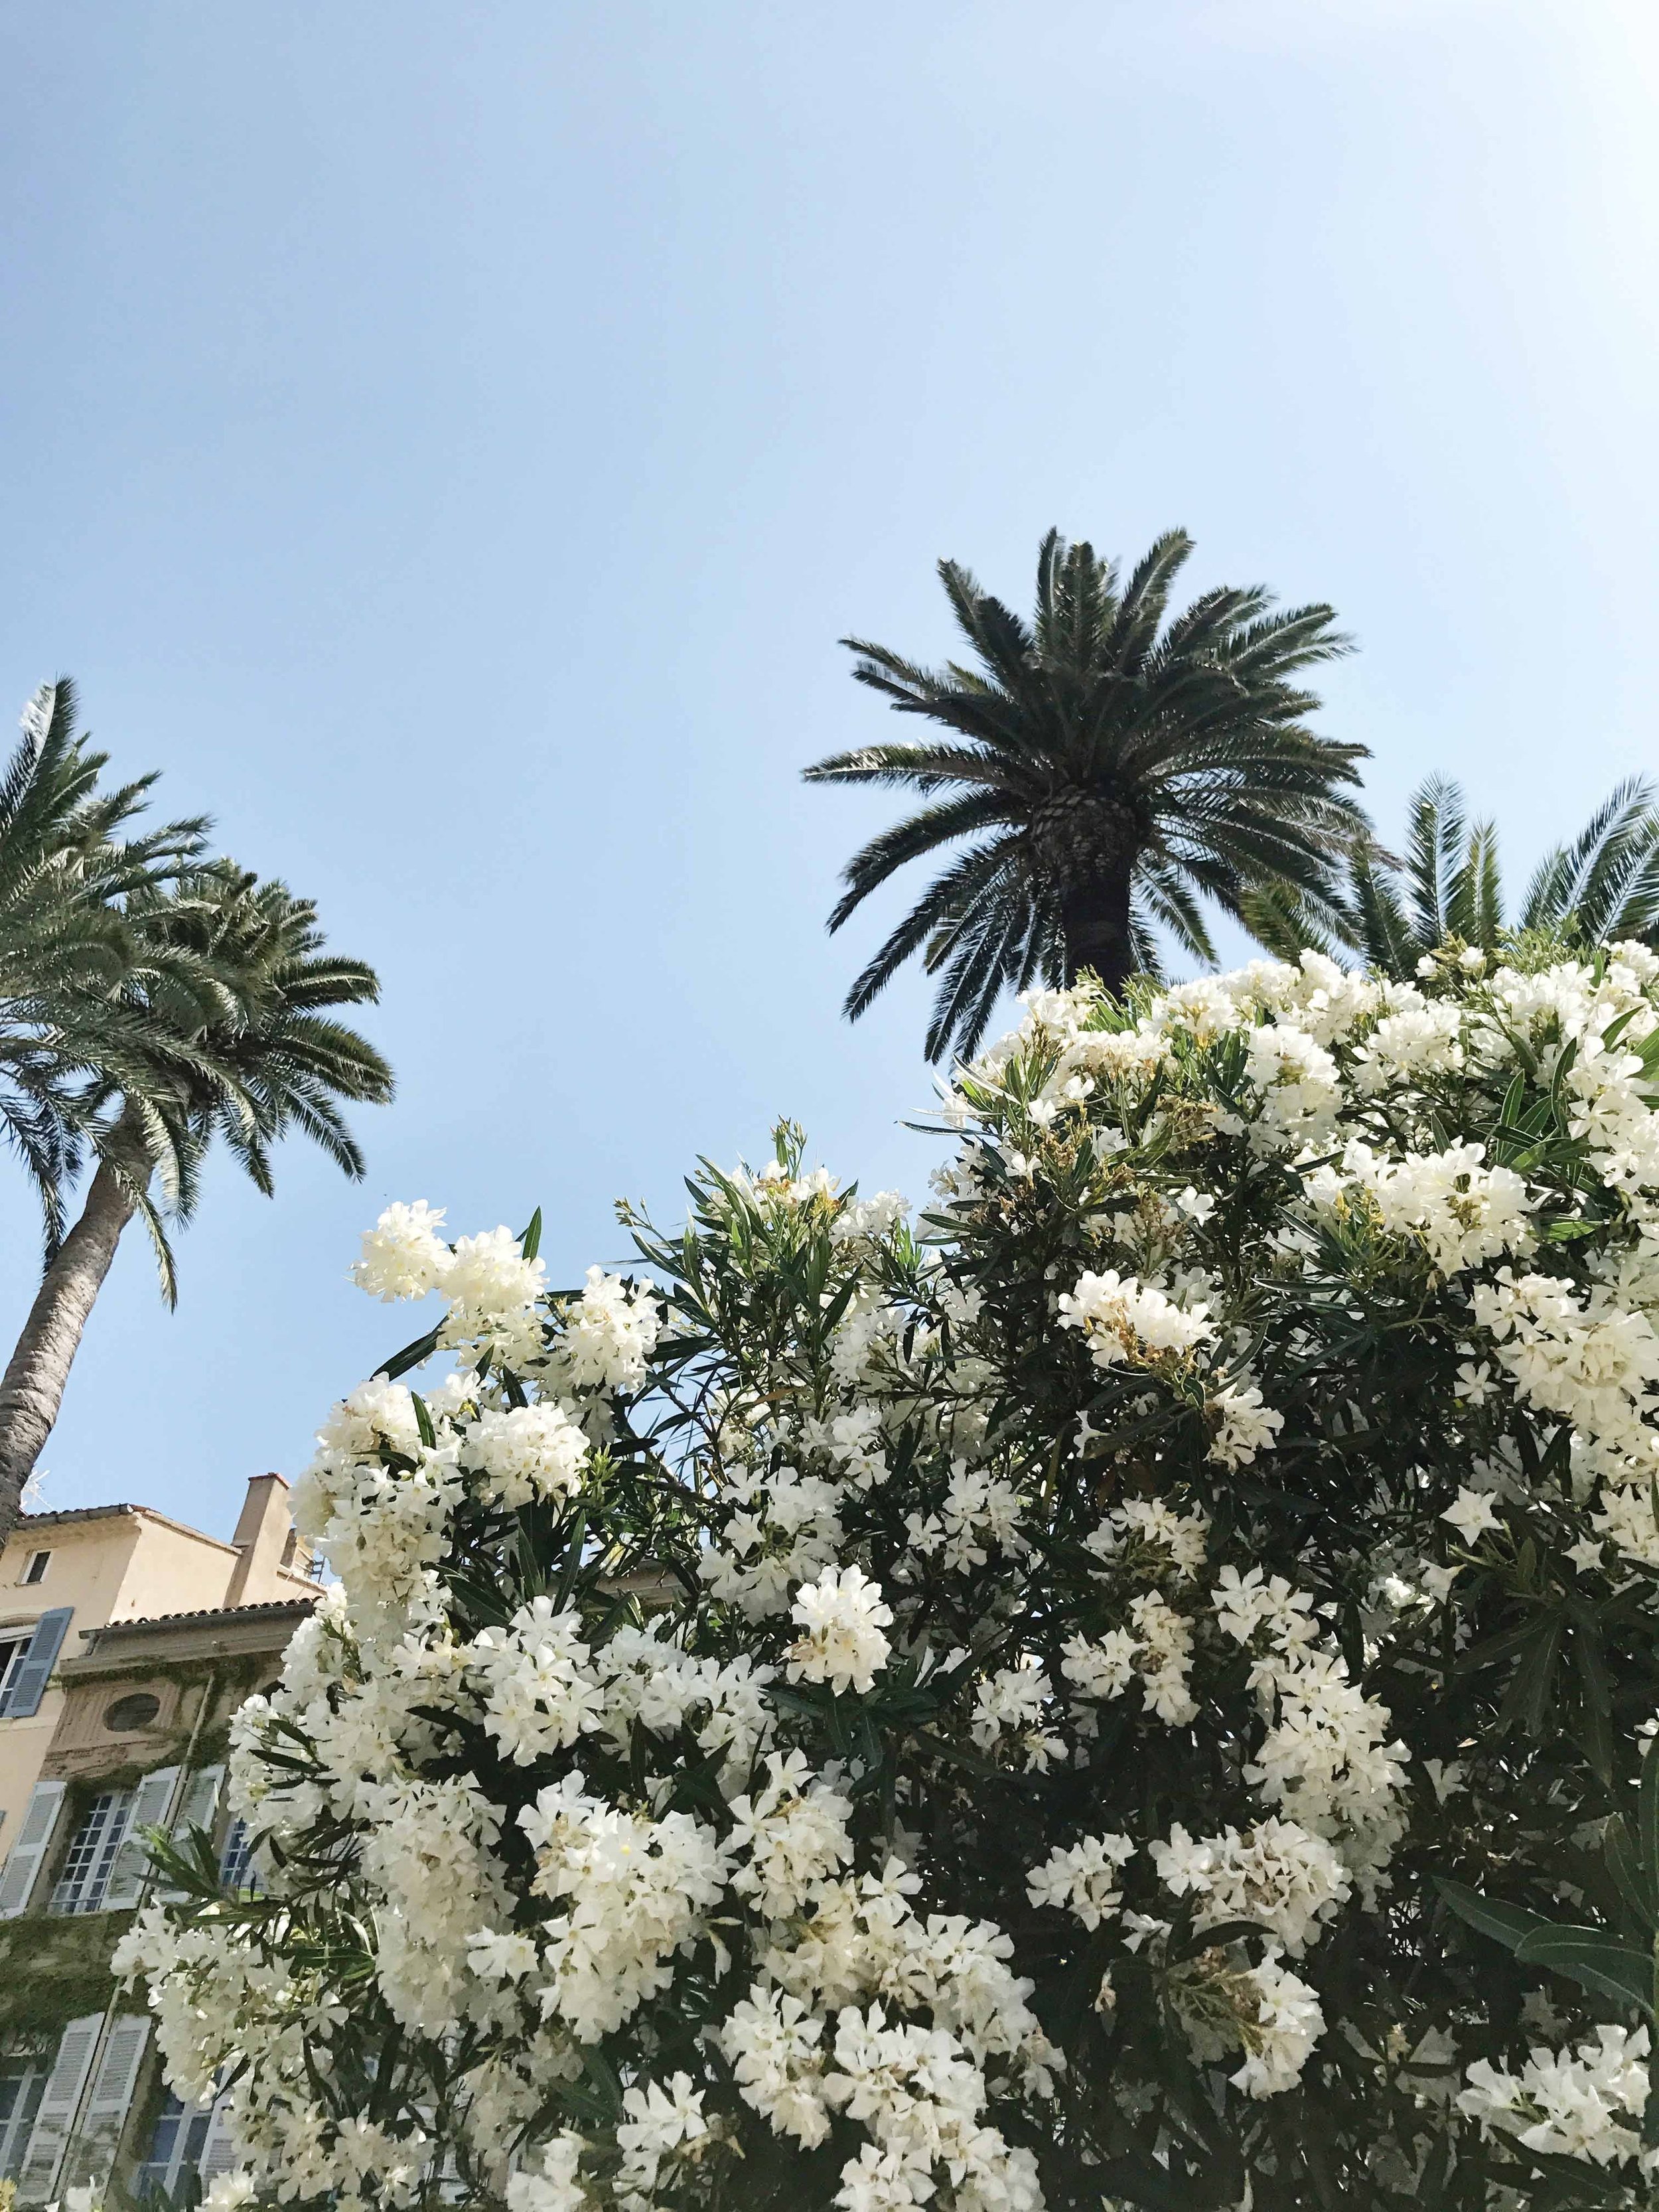
-Pay attention to lighting. Lighting plays a HUGE role in the quality of your photo. I typically prefer to shoot photos in morning or late afternoons when the lighting is less harsh, but sometimes that’s not always possible. Some girls can look cute in direct harsh midday sunlight, but I am NOT one of those girls; direct overhead sunlight leaves harsh shadows on my face and distorts my nose and eyes on camera. If I’m taking my photos in the middle of the day (because I happen to be out and want one) I’ll usually look for a covered area that has nicer lighting, like under a patio, behind a wall, etc. or simply turn my back to the camera. When it comes to editing photos, it is much easier to “fix” a photo that is slightly too dark by increasing the exposure on the photo. But there is little you can do to fix a photo that is too bright and blown out.
-Frame the photo and know your angles. I usually pick out what I want as my background and position my phone exactly as I want it before handing it to someone. I’ll then explain what I’m envisioning for the photo so the person taking it can direct me to get the right shot (move to the left, etc ). A common mistake that I see, and that I was completely guilty of before, is seeing people feel the need to be standing right against whatever background they picked. You don’t need to stand right on it, to me it typically just looks like a tourist picture in those instances. Instead, I prefer the look of having the person closer to the camera, with a nice shot of the background behind them. This gives a more natural look that you see a lot of influencers shoot. I also prefer for my photos to be shot at chest or eye level since I’m tall, while a lot of shorter girls I know prefer for their photos to be shot from a lower angle; play around with a few to see which angles make you look your best and stick to those.
-Burst Mode. Even after doing this for years now, I can still be pretty awkward and uncomfortable in front of the camera. I need to feel comfortable with my photographer (I usually like my boyfriend to take my pics), not be in a crowded space, and I need some time to get into the shot. I don’t like how my photos look when they’re super posed, so in order to get more natural, candid photos, we shoot on burst mode. To do this on iPhone, you simply go to take a normal photo but hold down the button instead of simply tapping. So I’ll move around ever so slightly while my boyfriend holds down the shooter button, and in a matter of 30 seconds or so we have about 200 photos to choose from (there will typically be 1-3 that I like from those 200). In order to select which ones you like, simply go to the photo, click “select” from the bottom, and you can look through and select the photos you wish to keep. It’s important to make small movements so you get a few different shots. Try looking directly at the camera, look away, pretend to laugh (my bf typically tells jokes to get me to laugh), change your pose, walk, etc so you can get different shots to choose from.
-Adjust your exposure and focus before taking the pictures. On the iPhone, simply touch the screen and hold for a second on the area you want to be the main focus (typically the person in the shot), from there you’ll see a tiny sun appear on your screen you can slide your finger up to increase the exposure (make things brighter) or slide your finger down to decrease your exposure.
-Editing. I’ll do a separate blog post on exactly how I edit my photos, but it’s important to know that if your photos don’t look quite as crisp or bright as a blogger you see on Instagram, it’s because they’re using tools to edit their photos. Following the tips above you can get some great photos that require very little editing, if any. I’ve had some photos taken outside in ideal lighting that I’ve been able to post without a single thing corrected. However, indoor photos are a different story. My last apartment had beautiful lighting that required very little, if any correction, if taken on sunny days. My new house however, leaves every photo too saturated and yellow, regardless of the lighting, so I simply use Lightroom to decrease the yellow in my photos and increase the white.
That’s it for this post, I hope it was helpful. If you have any questions feel free to leave a comment below!